“The camera eats first”
Have you seen food pictures that have automatically made you hungry?
How do people take such beautiful pictures of food that it almost looks unreal?
But when you take the photo, it just doesn’t look as good or do the meal justice on how great it tasted?
High quality food photography is crucial for the success of a restaurant/cafe in 2020!
Having food images that perfectly capture the essence of the dish you serve can make a huge difference between getting high sales or high losses.
Luckily for you, we’ve compiled a list of our top food photography tips that will help you turn your meals into a work of art, even by using your smartphone camera!
1. Getting the correct lighting is key!
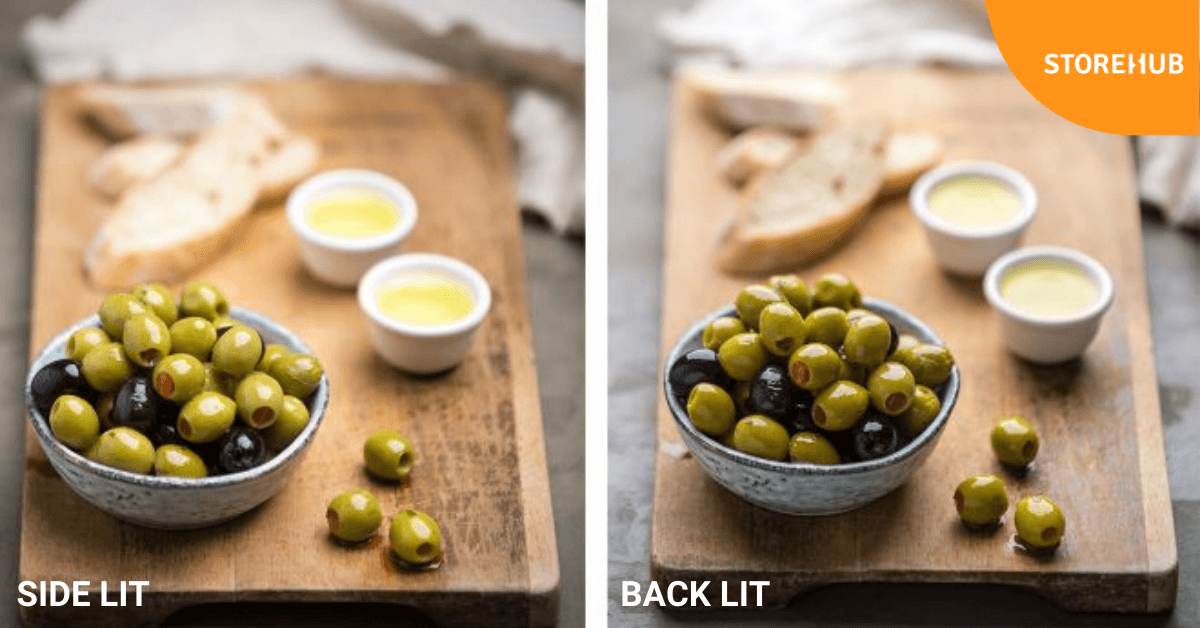
The most crucial thing when taking good food photos is using light to bring out your food’s good side!
Always try to shoot in natural light instead of artificial lighting.
This is because the few rays of natural sunlight will highlight the brightness of your food instead of creating an ugly yellow or orange overcast from the artificial light.
However, you should avoid shooting directly under the sun as it can give your food dark shadows.
It can also cause your photo to be overly exposed, especially if the food colour is very light. If the photo is overexposed, the shape and texture of the object will look washed out.
The ideal lighting would be under the shade on a sunny day. This way, you will get the brightness from the natural light and maintain the sharp textures and features of the food.
Here are some more things to consider when choosing the best lighting:
- If you’re taking the photo indoors, use natural light coming in from windows! Choosing the table near the window easily allows you to take advantage of the natural light source.
- When taking the photo outside, you can find a shaded spot easily under trees or even putting an umbrella over the food.
- Light the side of your food to bring out and balance lots of texture, for example, food with lots of layers such as sandwiches and burgers.
- Avoid lighting from the front as it tends to create harsh bright spots in your photos. This can make the food look bland or unappetising.
Remember, good lighting is key to emphasising the features and balance the colour of your food.
Choosing the right lighting is the first step in taking a great food photo!
2. Think about the composition of your photo
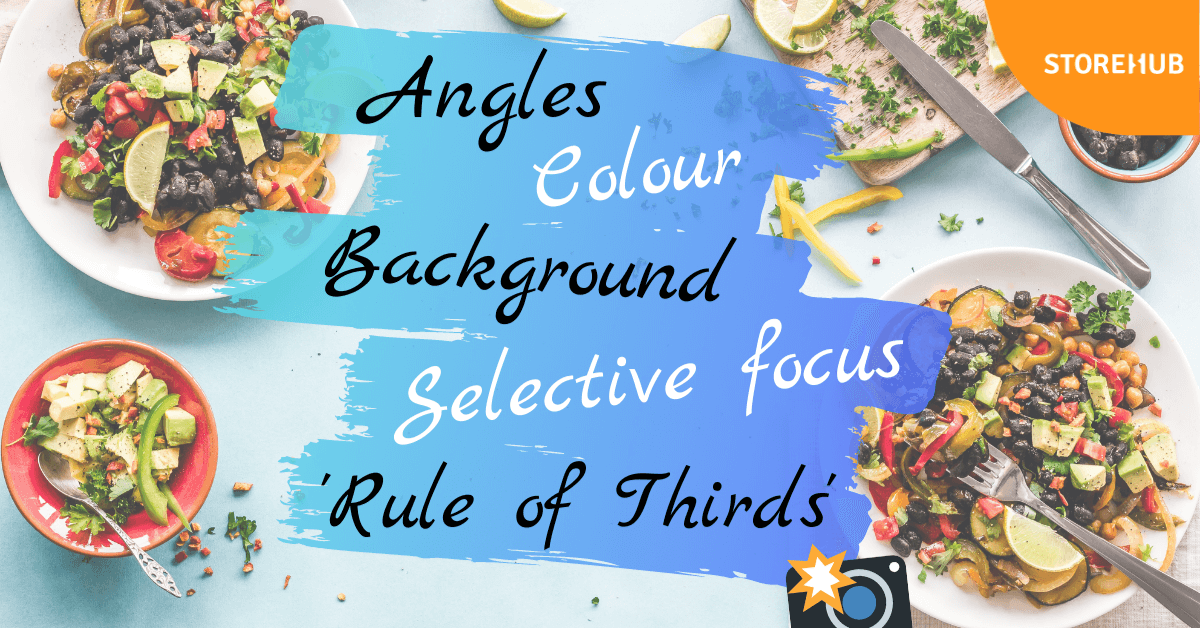
The next thing to think about is the way you want to frame your photo.
There’s no clear right or wrong way to frame your food but these are a few things to keep in mind:
Angles
Choosing the right angle depends on the part of the food you’re trying to emphasise.
For example, if you’re taking a photo of a sandwich, try cutting it in half and shooting it from a side angle. This will show off the different layers and the juiciness of the ingredients.
However, side-shots won’t work for everything.
A birds-eye view or flat-lay style works best when you have flat food elements such as a bowl of soup or cookies.
A 45-degree angle is best to show off food with height.
The one angle you should avoid though is shooting from a front-facing downward angle. This is the angle that a person sees when the plate of food is placed in front of them. Whilst there are some exceptions to this, the food doesn’t look as interesting or emphasised when shot from this angle.
Colour
What makes your food photos pop?
The colours!
You want to keep your photo saturated and the overall feel of the photo a warm colour. Studies show that warmer colours, such as red, orange and yellow, trigger a reaction in our brains that increases our appetite. The colour green also gives off a natural or organic feel.
Neutral Background
Try to compliment your food with backgrounds that have complementary colours to keep the colours balanced.
If the background is too messy or too colourful, the viewer can easily get distracted and their attention won’t be on the food.
The 3 types of background that work really well for food photos are:
- Light
- Dark
- Wooden
Dark food looks better on a dark background, whereas light food looks better on a light background. Wooden backgrounds look great with any type of food!
But these are not the only backgrounds you are limited to. Sometimes cloths with subtle patterns can look good too!
Play around with different kinds of backgrounds, but just make sure that it looks neat and tidy!
Selective focus
When taking food photos, the focus is another important thing to consider. Try experimenting with focused, close-ups or less focused backgrounds.
One good photo-taking hack is to keep the food in focus and blur out everything else in the background. You can do this easily with portrait mode in your smartphone camera.
‘Rule of Thirds’
A good rule to follow is the ‘Rule of Thirds’. Imagine your frame is divided into 9 even square grids.
The main subject of your photo should be positioned at the intersections of the lines or along them.
Smartphones now have grids on their camera app for this very reason!
However, it doesn’t always apply to every photo. If you are zooming into the food, for example, a doughnut to show off the chocolate filling, the rule of thirds would not apply.
3. Decorate the scene
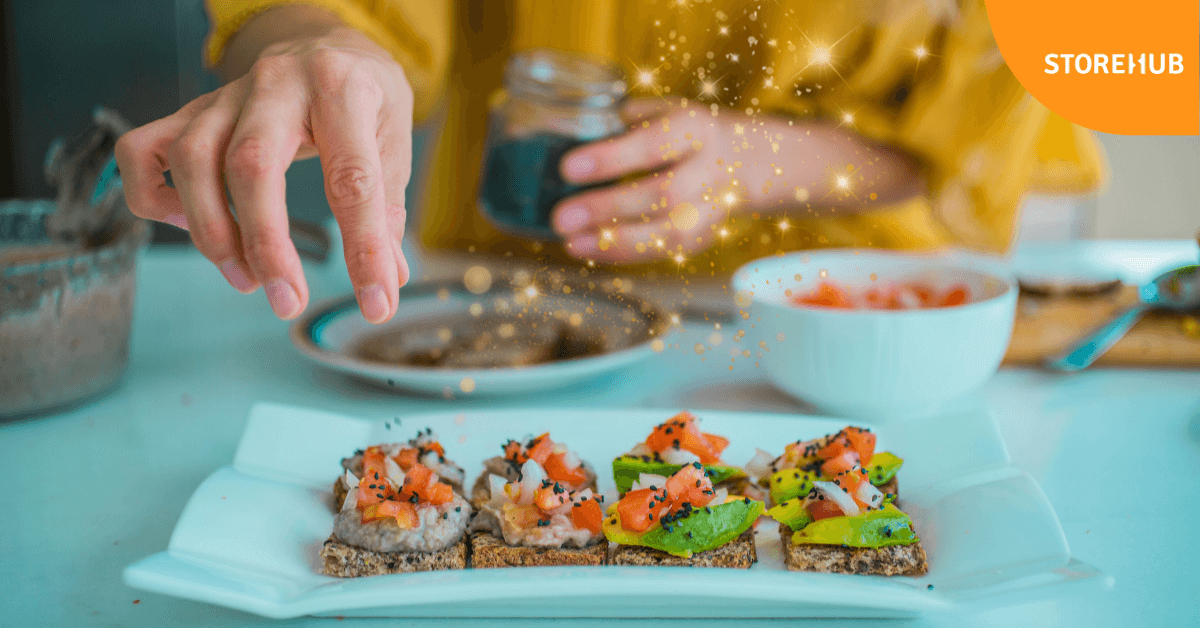
To make your food photos more interesting, you could place background dishes, utensils or other small decorations around the main subject.
A popular way to do this is by placing some of the dry ingredients that you used in the dish in the background.
This creates a ‘visual’ recipe for the food photo. Some other great decorations you could use are different coloured spices, fruit pieces, nuts, chocolate pieces, fresh herbs etc.
You can also use cooking utensils or cutlery to spice up your backgrounds.
To make things more interesting, you could even use things found in nature or seasonal items e.g. flowers, leaves, Christmas ornaments etc.
But remember to not overload the background otherwise it’ll be too distracting.
Always consider how the colours of the food, your background and the decoration work together.
You want them to complement each other instead of being too different that it becomes distracting.
4. Editing your food photos
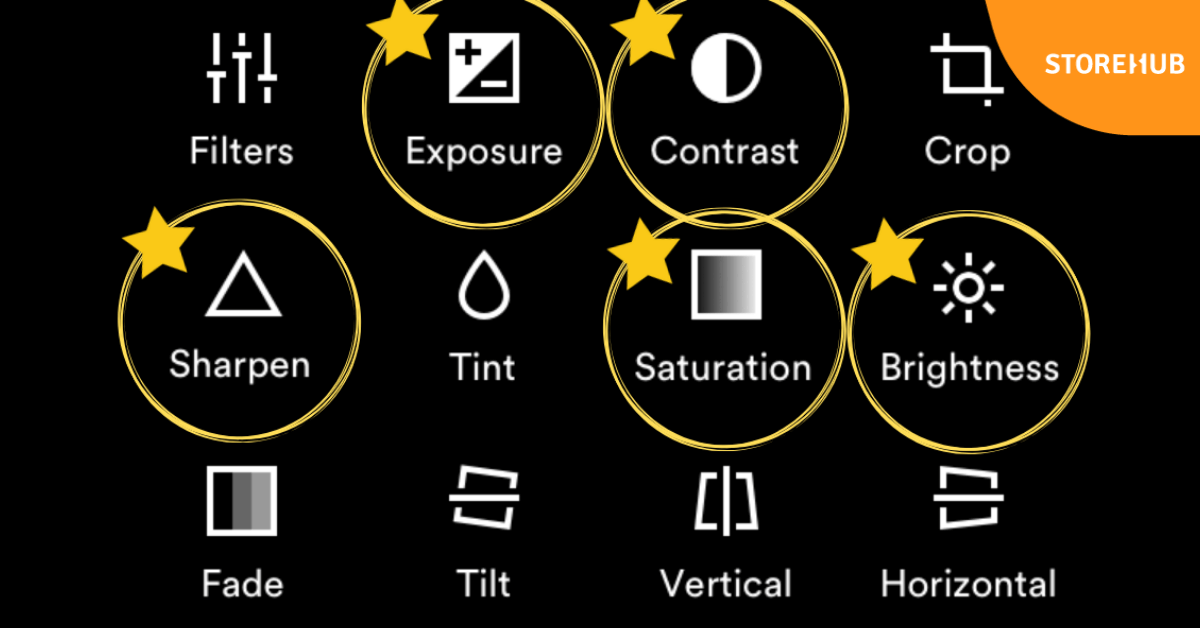
Thanks to the wonderful evolvement of social media and the various photo editing apps, we don’t need to use professional photo editing software like Photoshop to edit your drool-worthy food photos.
Apps such as VSCO Cam, Snapseed and Lightroom make this easier by having pre-set filters and user-friendly features to edit photos.
Here are some tips for editing:
Saturation:
Saturation describes the intensity of colours in the photo. By increasing the saturation of photos, it brings out the colours even more. As mentioned before, warm colours tend to be more appetising, so increasing the saturation for these colours makes the image more irresistible.
Brightness/Contrast:
Increasing the brightness makes the image more appetising and eye-catching. Contrast is separating the dark and light areas of the photos. Increasing the contrast gives the image more detail.
Fix the white balance:
Adjusting the white balance can make the image “warm” or “cool”. As previously mentioned, it is suggested to use a warmer white to make the food look more appetising.
Sharpen the image:
Sharpening the image means bringing out the details in terms of shapes and lines. Your image should already be pretty sharp if you have good lighting and a good camera but increasing the sharpness a bit can make the image clearer and bring out more definition.
5. Use human elements
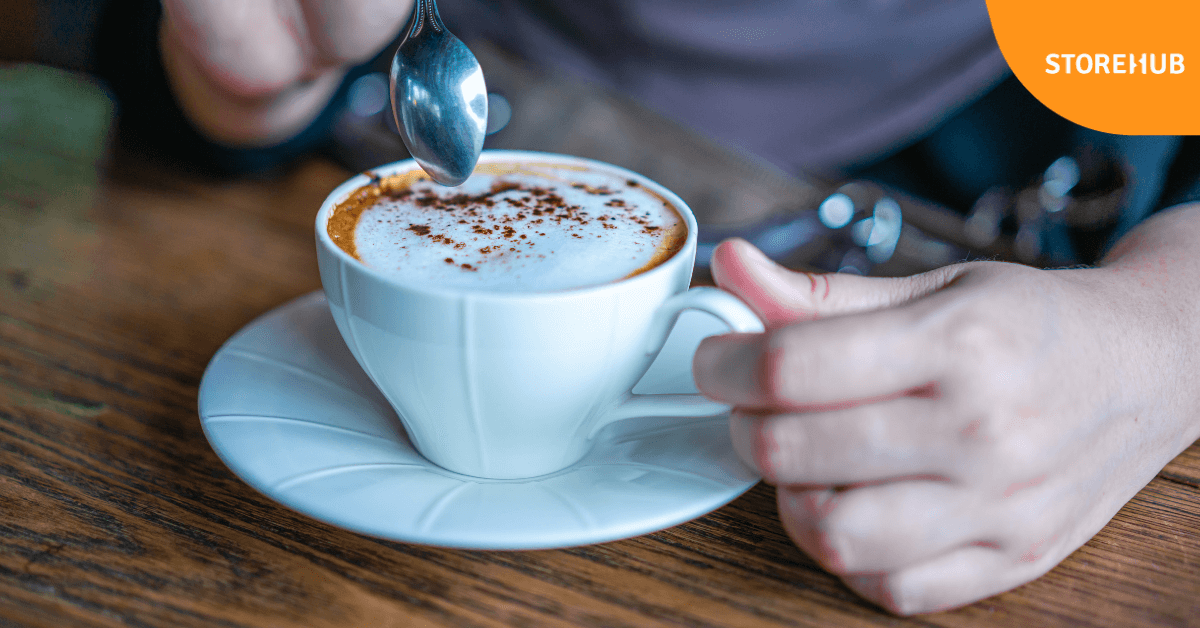
When people go out to eat, they usually do so in groups. By adding a human element within the frame, such as someone’s hand, it brings out a sense of communal eating.
Get someone to hold a drink or reach for a dish across the table.
These lifestyle shots tend to resonate with customers more since it seems more realistic and relatable.
Some final words of wisdom:
When judging whether the photo is good enough to post, think about whether YOU would eat the food if you saw that photo online?
Did it make your mouth water?
Remember that food photography is mostly about experimenting.
Trust your gut and go with your instincts, try out different angles and lighting to see which one works best for you.
There is no defined rule as every food picture is different, so use these tips to help you but don’t be afraid to try different things as well!
Power your business with StoreHub
