

Are you a small business owner starting your online business?
If so, having hi-res photos is crucial for your online website. Your images are the first thing that your customers look at when deciding whether to trust your brand or make a purchase. Having aesthetically pleasing photos will encourage your web visitors to keep scrolling through your website and perhaps even induce conversions.
Nobody likes looking at blurry photos that you received from your China supplier.
So be sure to invest in a good camera. Nowadays, high-quality product photos can even be shot using your phone camera. Thus, producing a professional photo doesn’t need to be expensive with some improvisation.
If you’re just starting up and looking to photograph your products for your ecommerce website, follow these 7 tips that will help you get things running. We will go through the basic essentials from setting up your lighting and backdrop to editing your photos.
1. Lighting
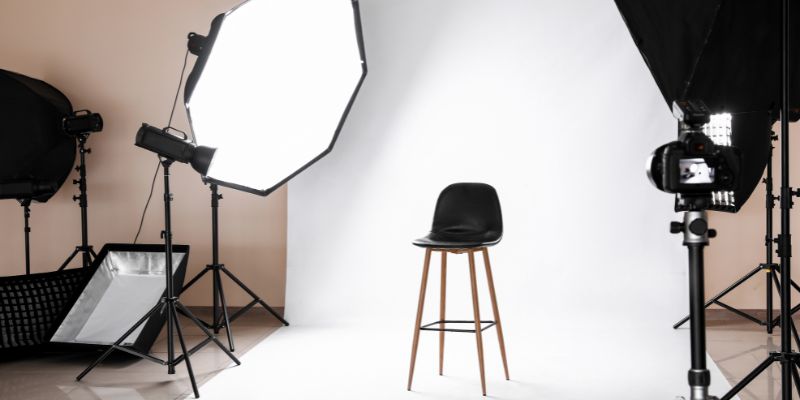
Lighting matters!
It helps to highlight the color and feel of your product. When deciding on the right lighting to use, think of your theme or how you want your photo to look – romantic, classy, modern, etc..
If you’re selling a white floral dress, you might prefer soft lighting with a grassy outdoor setting as compared to hard lighting with strong, intense shadows.
There are 2 types of lighting you can use:
Natural Lighting
Best when you’re on a tight budget! Natural window light is the best light source that’s free and the easiest to set up! Find a large window with an abundance of light. If the light is too harsh, soften it by hanging a sheer curtain over it.
If you plan to shoot outdoors, the best shooting time is early in the morning or late in the afternoon. So, remember to plan out your shooting hours so that you catch the sun before it sets.
NOTE: Avoid shooting under direct sunlight as it would create intense shadows.
Artificial Lighting
If you want the flexibility to shoot at any time and anywhere, invest in two light kits (one as your main light, and another as backlighting). They give you more control of the process – light intensity and consistency of each photo – especially if you’re shooting many products.
If you’re shooting smaller objects, make use of a Lightbox. If you don’t plan on spending, create your own!
2. Shot Types
Find different ways to display your product for your photoshoots.
Having variety is always good. This helps to ensure that your audience will not get bored of seeing the same type of image from you.
Some examples (for retailers):
- Product on display (rack or folded)
- Product flat lay with complimentary items
- Mannequin
- Model
- Backstage shots
3. Angles
Think about which part of your product you want to emphasize. Is it the print on the front or does the product fit at the side?
Try multiple views from different perspectives and decide which one works best for your product type.
For example, if you want your model to look taller, angle your camera slightly bottom-up to elongate the legs.
Angles to try: Top view, side view, standing eye view, table view, close-ups or further shots.
If you do not want to upload so many photos, you could always take a short video to help your customer visualise your product better.
4. Background Matters
Go for a background that matches and highlights your product. Think of it as creating a theme.
At the same time, take into account that your background color can evoke various emotions, so think of how you want your target audience to feel when they look at your product image. For example, if you are selling toys, pick more vibrant and colorful shades that identify with creativity and joy such as yellow.
Learn more about how color can affect our minds.
If you just want to photograph your product alone, use a white or light backdrop. This eases the editing process when retouching your images.
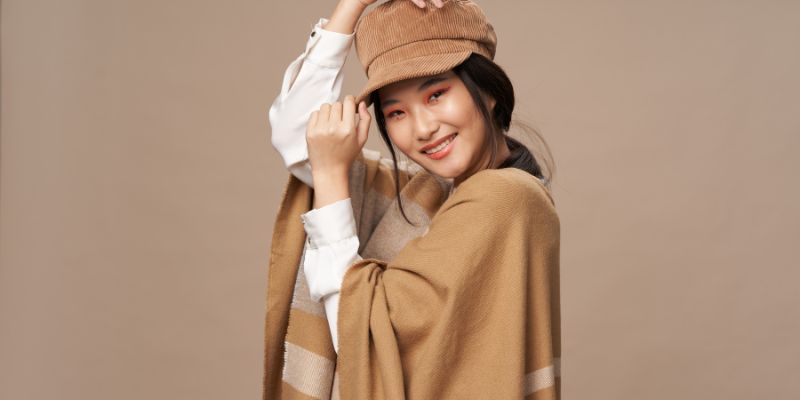
5. Keep It Real
Snap more lifestyle photos.
Show customers how your products look when being used, especially for fashion items. It could also serve as a useful tip on how to style your product and show how versatile it is.
For example, showcase your top worn on different occasions from the office to a night-out setting.
If you have a range of products for several customer groups, it would be advisable to feature your products being modeled by people of different ethnicities and sizes.
6. Edit your photos
Once you’ve got your pictures ready, edit them to make them look more alive and appealing.
Basic editing includes the items below:
Brightness and contrast – Add more contrast if you want your photo to have more detail while increasing the brightness will bring out more color and light.
White balance – Adjust the warmth or tint of your image. A warmer tone will give a more summer vibe as compared to a cooler tone.
Saturation – Use this to increase the color intensity.
Sharpness – Sharpen the photo if you want to add definition and depth to your design or print.
Note: Just be careful not to alter the photo color too much so that it looks different from the real product.
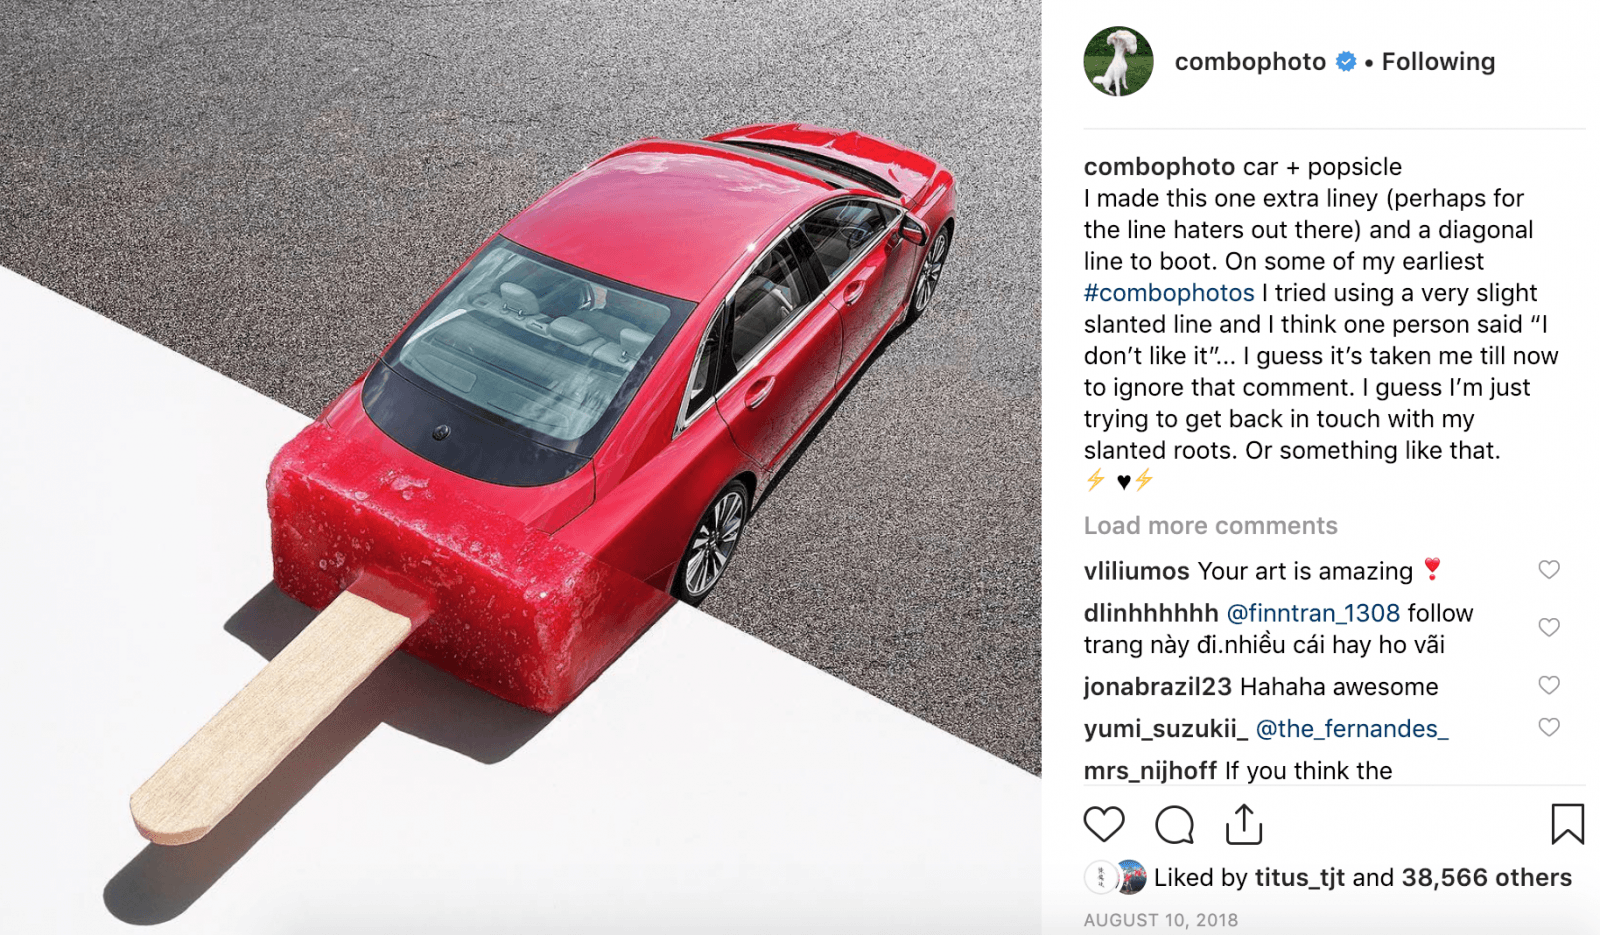
7. Be Creative
Think outside the box.
How else can you capture attention while showcasing your product? Make your photos look attractive and relevant at the same time.
Pieces of equipment you might need:
- Camera
- Tripod
- Backdrop (Craft/mahjong paper, or plasterboard)
- Mannequin
- Mannequin bust (for jewelry)
- Lightbox (for small items)
- Editing software (Pixlr, Canva)
That’s all!
We hope you’ll make use of these tips when shooting your products for your online store.


Recent Comments